As mentioned in previous posts, a combination of the width of your fringes and the angle of your cuts changes the appearance of the final flower. When fringing by hand, you may find differences if you fringe many different strips. When using a Fringer machine, this does not happen because the machine maintains the tension and evenly pulls the strip through as it cuts the strip of paper.
Tip for those of us who fringe by hand: When working on a large project where you want to ensure more consistency with your fringed flowers, use more than one strip of quilling paper back to back. As you cut through the strips they will each have the exact same width and angle because you have cut them at the same time. As you select your strips to wrap, your fringed flowers will be similar in appearance.
This post is primarily a pictorial explanation, with the pictures containing written text and arrows to highlight what I am attempting to show. Words are wonderful, however, in this situation I think that the pictures will help to demonstrate more clearly what is being described.
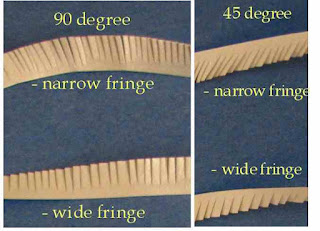
This photograph shows 4 examples, all using the same width quilling strips. The difference is in the size of the fringe and the angle of the cuts. This where we start. The pictures that follow show the steps you take in creating your fringed flower. I am demonstrating with a slotted tool because it is easier to take the pictures. Use whichever method is most comfortable for you when you wrap / roll your strips.


You will gently press the fringes down to create the final fringed flower. You can use your fingers or you can also use a needle tool or similar device to get more of a curled effect.
The pictures that follow show the same fringed flower. In one example, the flower is made using only the fringed strip. In the second example, you see the flower with what I have called a center strip. I have taken a narrower strip and glued it (front to back) with the fringed strip. I then begin rolling with the narrower strip and continue until reaching the end of the fringed strip. As you can see, it gives your flower a nice center.
I have included more
pictures of fringed flowers so that you can see the effect of using different widths and angles in your cuts. I have also previously posted a
basic example of making fringed flowers.
I hope you enjoy making fringed flowers!
Enjoy!
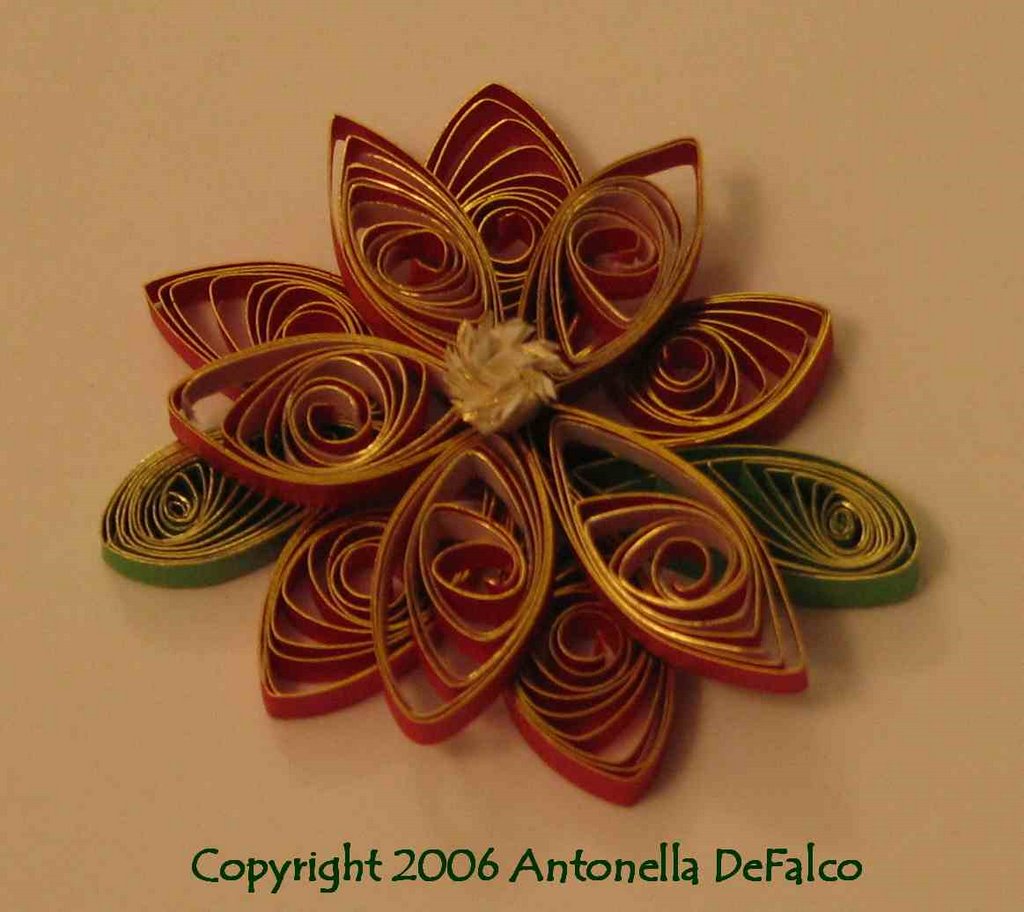
Copyright Antonella DeFalcoTechnorati Tags:
quilling,
paper filigree,
filigrana,
free quilling instructions,
fringed flowers,
free instructions,
naqg