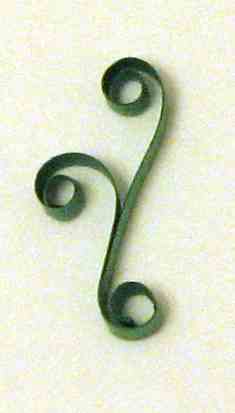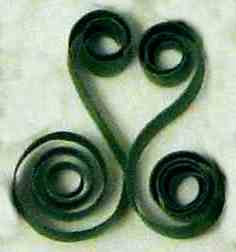
For many of my designs, I like to use Fringed Flowers. Early on in my quilling, I found that I liked these flowers. It may have been because they look difficult, however they are easier than they appear.
If you are unsure how to make fringed flowers these instructions are for you. For more information about Fringed Flowers also check out the
Basics of Fringe Design and
detailed instructions for making fringed flowers. I have included more
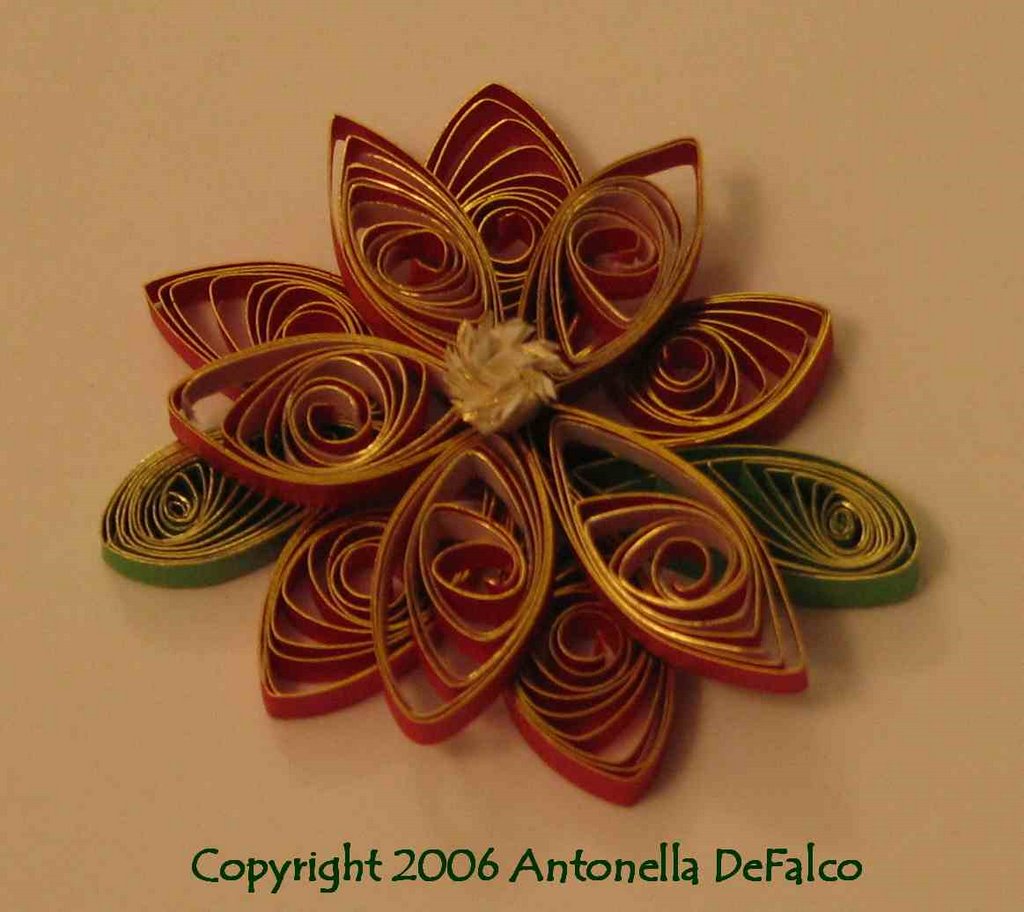
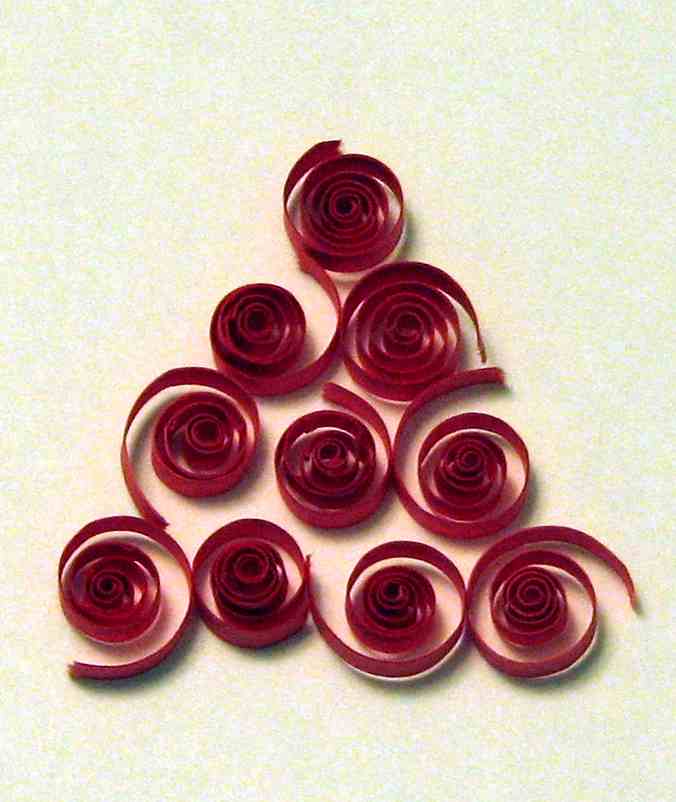
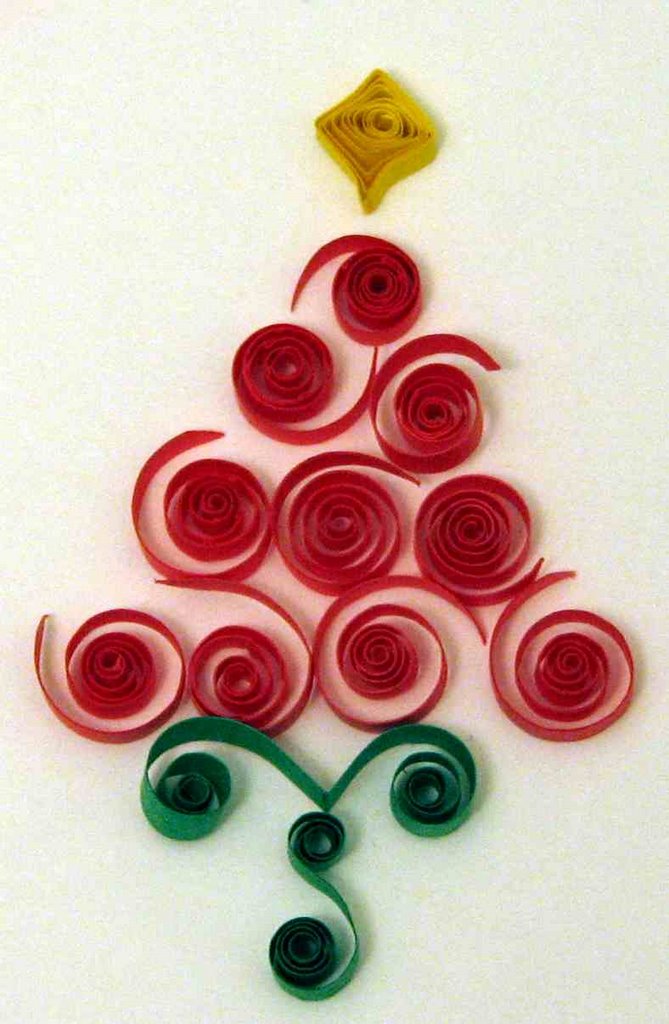
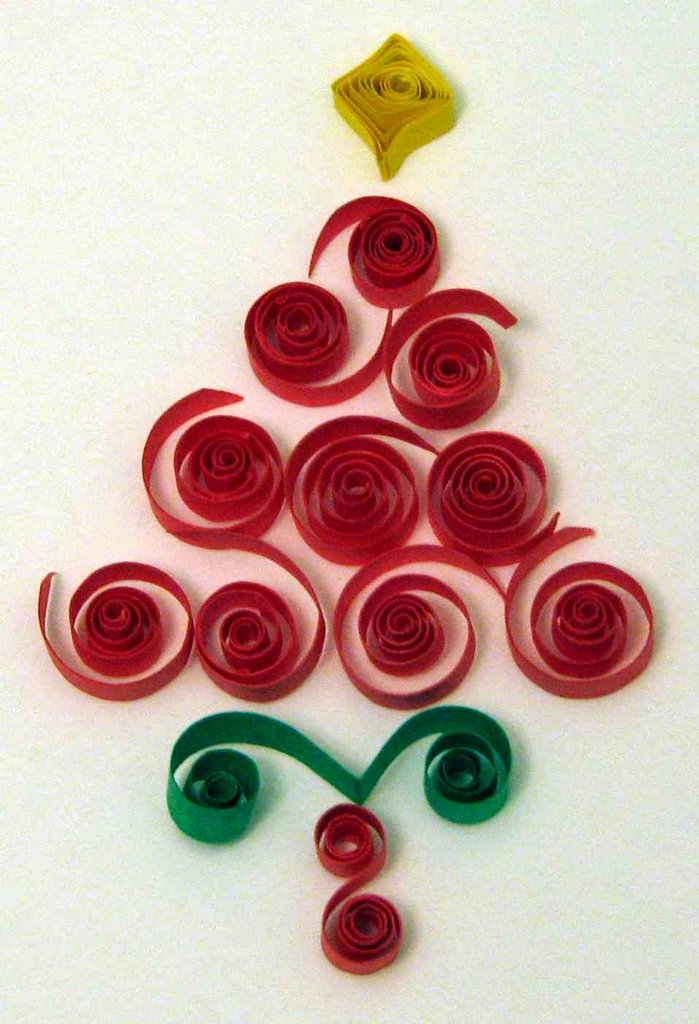
pictures of fringed flowers so that you can see the effect of using different widths and angles in your cuts.
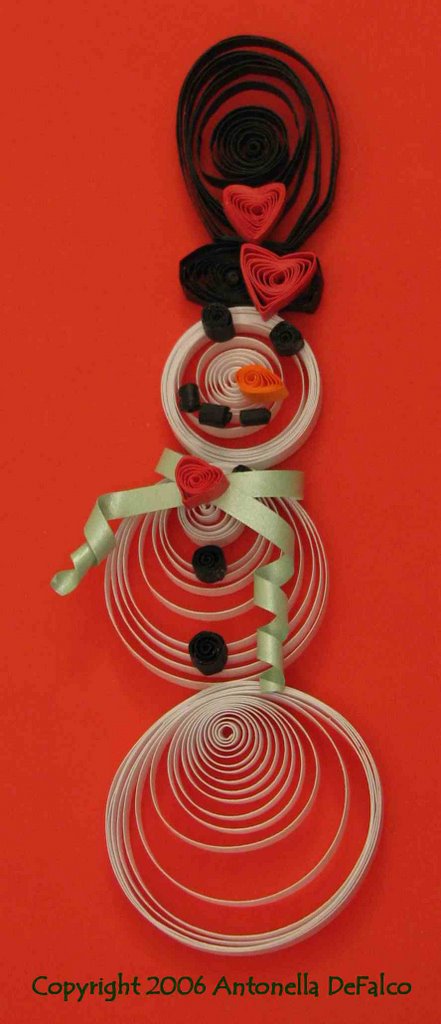
The important thing to remember with fringed flowers is that the width of the paper that you use is not important. You can use 1/8 in (.3cm), 1/2 in (1.27 cm), 3/8 inch (.95 cm) or any size in between or wider. The difference is in the size of the flower. When deciding what width paper to use, think about the size of your pattern or item that you are quilling and select a width that is in proportion to your project size. The various photos that I have shared show you how different each quilled flower can look. The possibilities are endless.
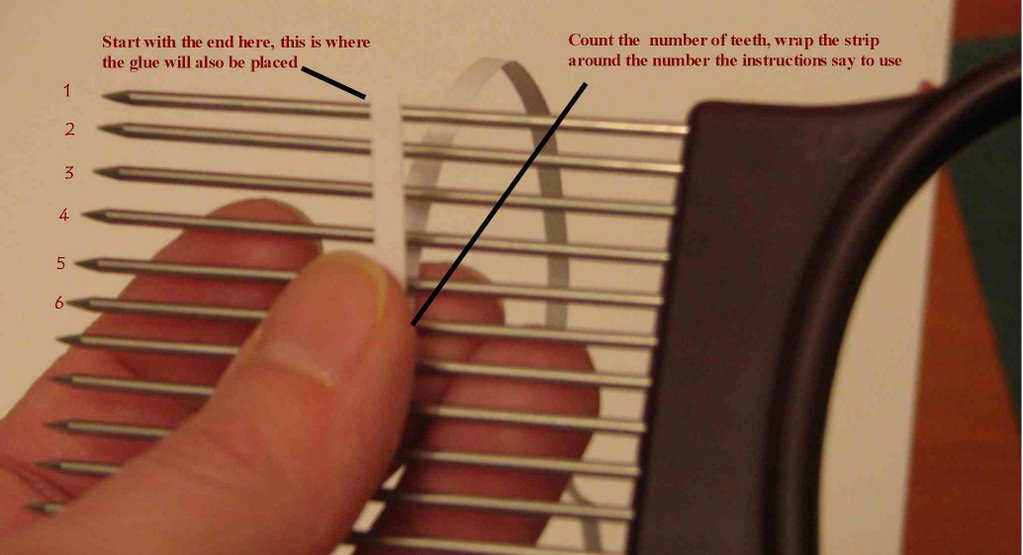
There are machines called "fringers" that will fringe your paper for you. I do not use one, instead I hand fringe my strips. These instructions are provided for those of you who are hand fringing your paper.
The tools that I use are small scissors (these can be craft scissors, nail scissors, or childrens scissors). I recommend something that has a nice sharp cut. Since many of you have nail scissors, start with those. If you are a paper piecer, then you already have the appropriate tools.

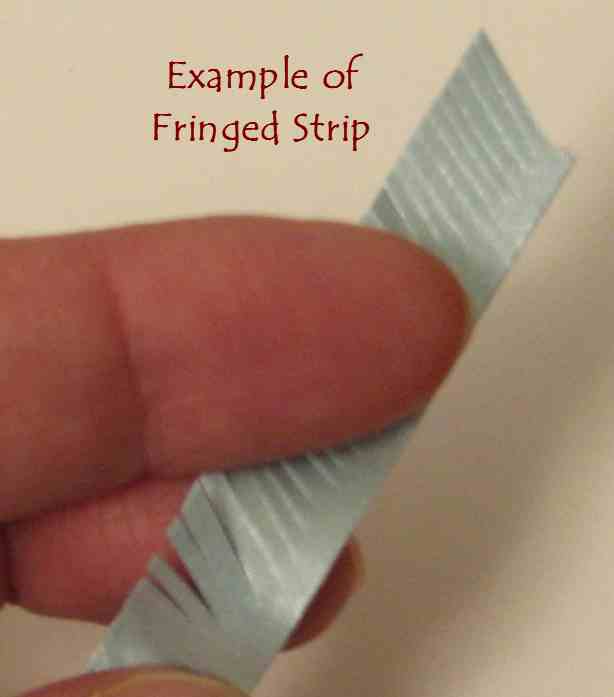
To start, take your scissors and cut tiny cuts approximately 3/4 of the way through the width of the strip. It looks something like this ||||||||||||||||||||||||, please refer to the picture for a close up of an actual fringed strip. The closer (or thinner) you make your cuts, the more delicate the flower will look.
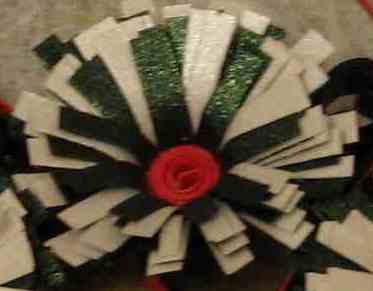
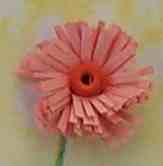
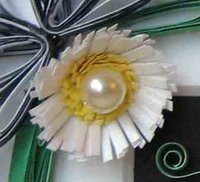
After you have cut your strip, you can begin making your coil. Referring to this picture, if you start your coil using the strip that has been cut, your flower will look like this. For this flower, I did not press the fringed pieces down. They naturally lined up this way because I cut my fringes at a slight angle.

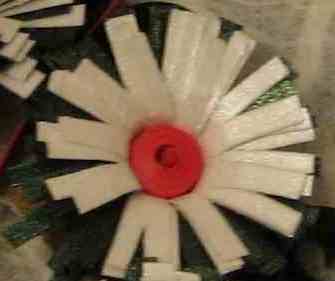
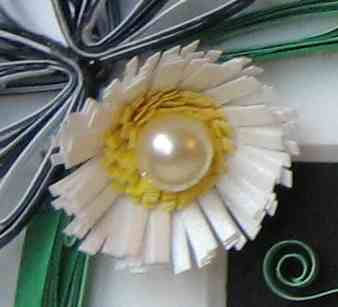
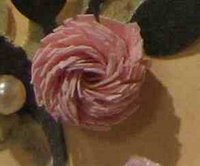
If instead, you add a strip of uncut paper and glue it to your fringed strip and begin rolling from the uncut paper, it will look like this picture. You may prefer this look or you may make your flowers this way because it is easier to start with the uncut strip, in this case a 1/8 inch (.3 cm) width paper, and make a tight coil at the beginning. This makes rolling the fringed strip which is glued to the uncut paper easier. Once you have rolled and glued the strips and the glue has dried, place the flower on a hard surface and gently press down on the fringes and flatten them as shown in this picture. You can also take your needle tool or a pin and slightly curve the ends for a more rounded look.
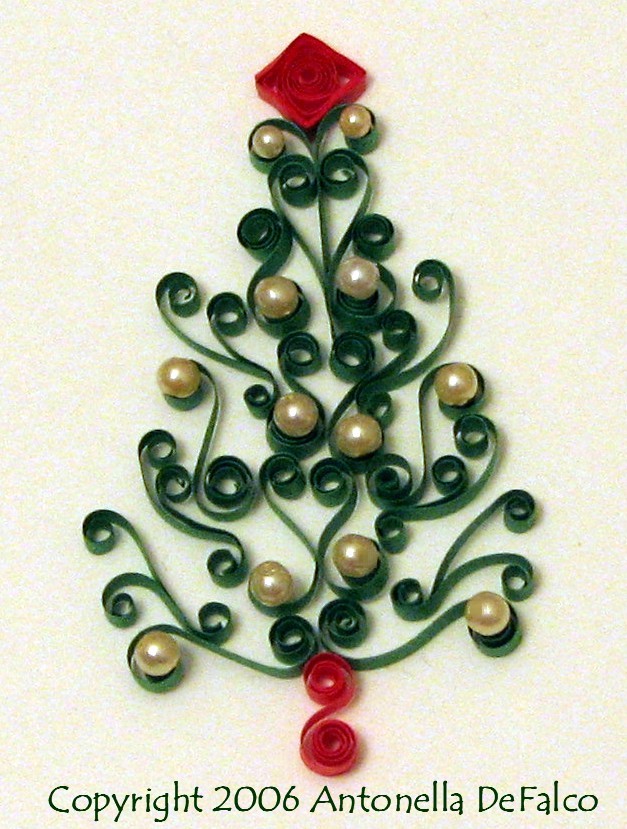
One of my favorite things to do is to add little pearls in the center of my fringed flowers. I think it adds that bit of charm to the overall appearance.
For more information about Fringed Flowers check out the Basics of Fringe Design and instructions for making fringed flowers.

Enjoy!
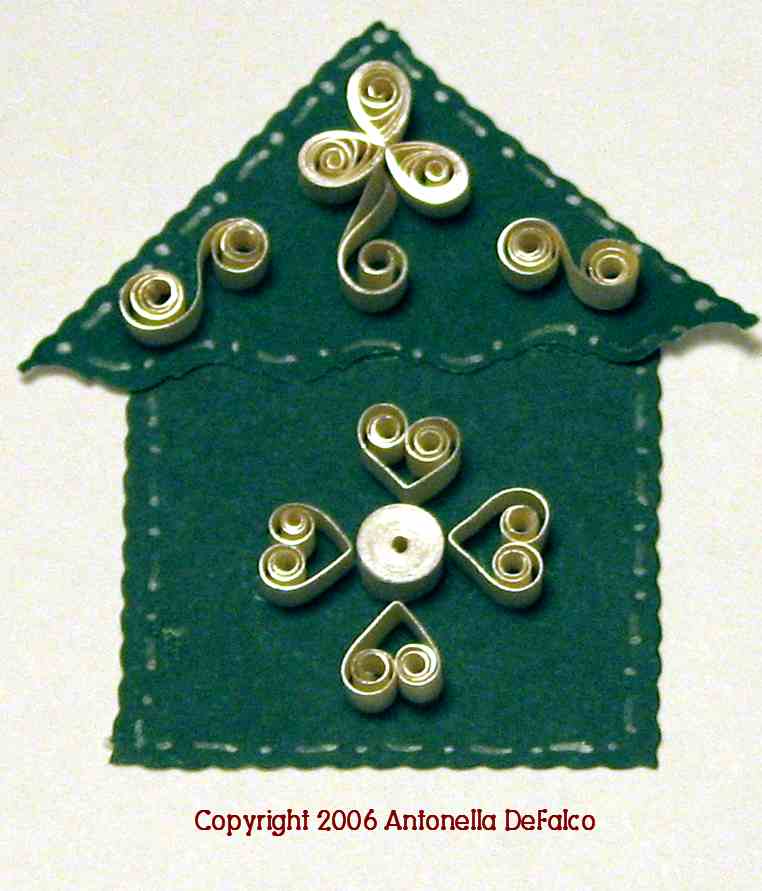
Copyright Antonella DeFalco
Technorati Tags: quilling, paper filigree, filigrana, free quilling pattern, fringed flowers, free pattern, naqg, childrens crafts